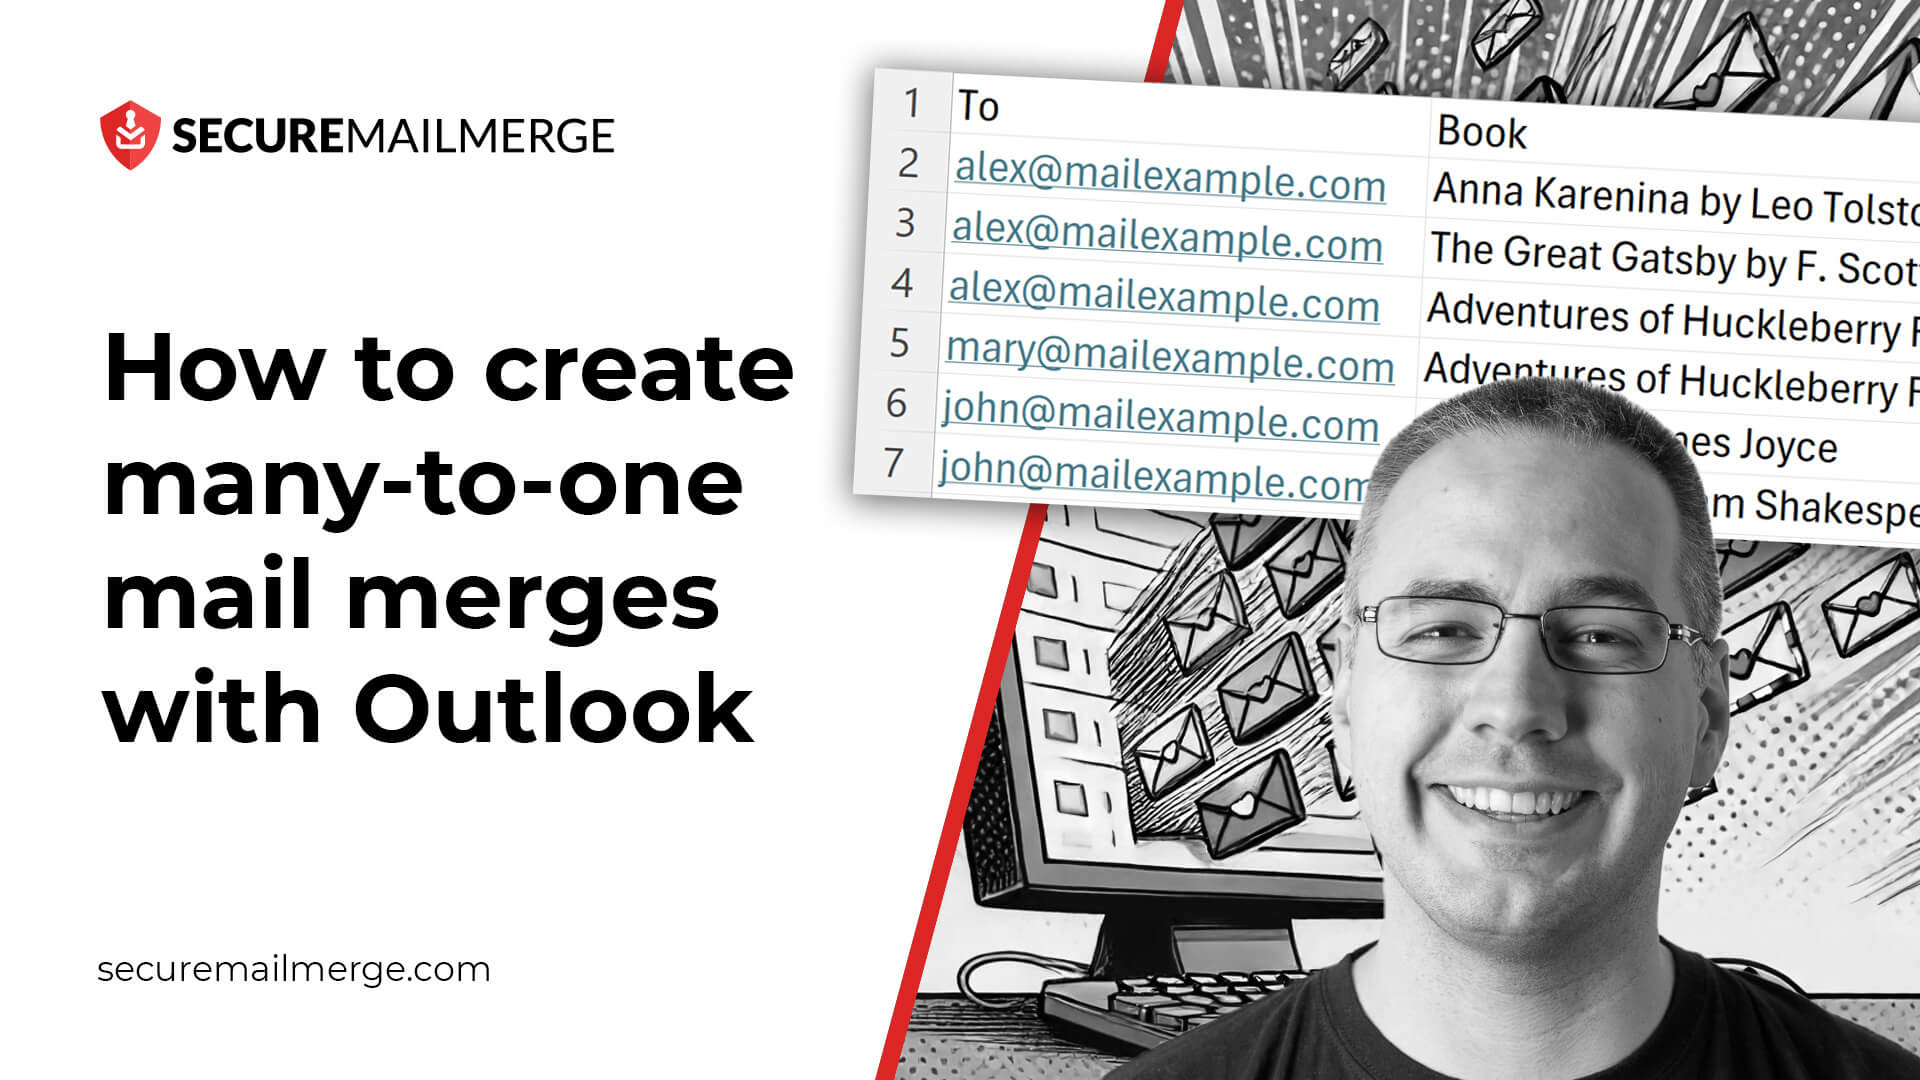
Mail Merge Many-to-One: Combine Rows into One Email
Send one email per recipient that combines multiple spreadsheet rows into a single table. Here's how to set up a many-to-one mail merge in Outlook.
Contents
Available as a video tutorial
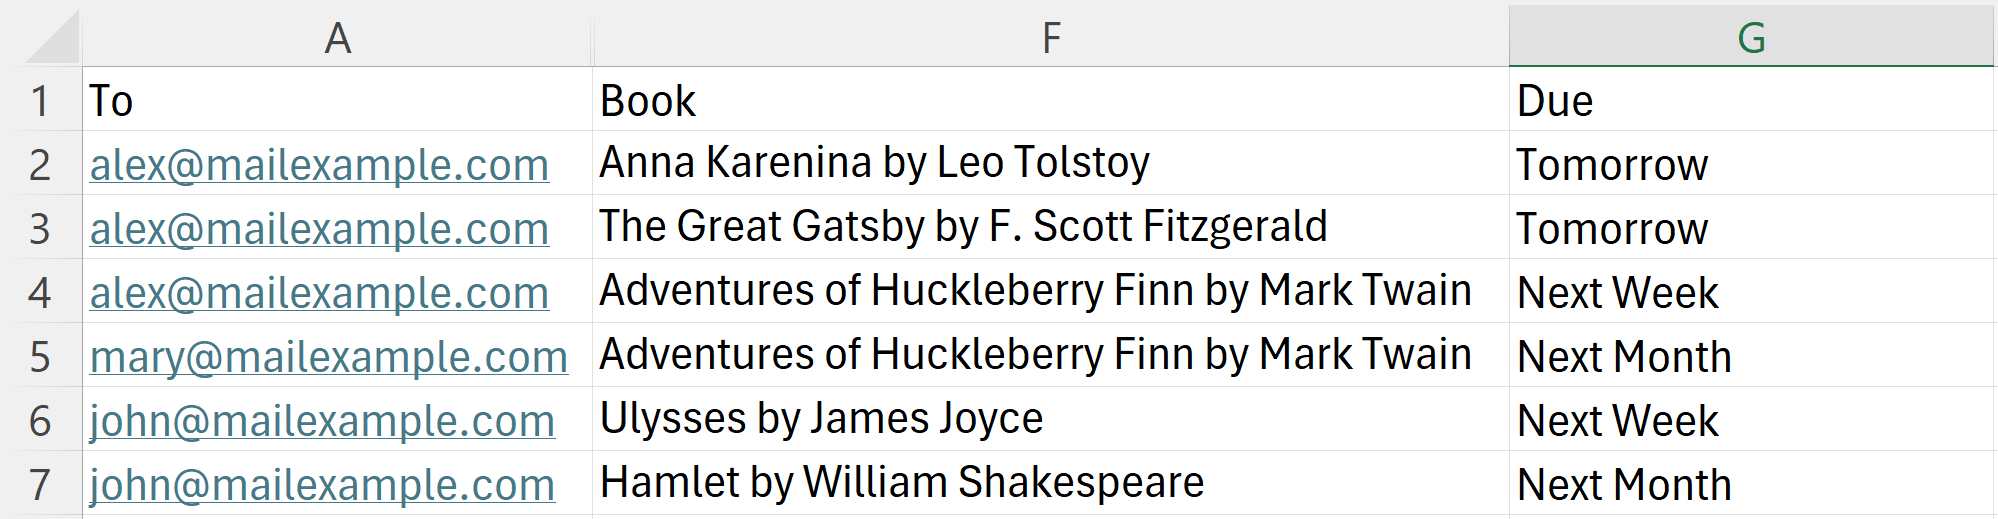
Step 1. Make sure the “To” column in your spreadsheet is identical for all rows you want to group.
Add a column to your spreadsheet called “Attachments”. Add the names of the files in the cell for each recipient. You can add multiple files by separating them with a semi-colon.
Step 2. Start a mail merge and upload your spreadsheet
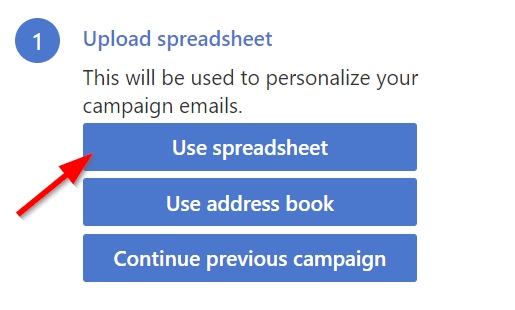
Assuming you have installed SecureMailMerge and started the plugin from the Apps menu, you will see the following screen. Click the “Upload Spreadsheet” button and the select your spreadsheet file from your hard disk.
Step 3. Activate “many-to-one” mode
If there are multiple rows in your spreadsheet with the same email recipient then a message will appear asking you if you would like to send a traditional mail merge or a many-to-one mail merge.
In traditional mail merge mode, each row will be sent as a separate email. In many-to-one mode, all rows with the same email recipient will be grouped together and sent as a single email.
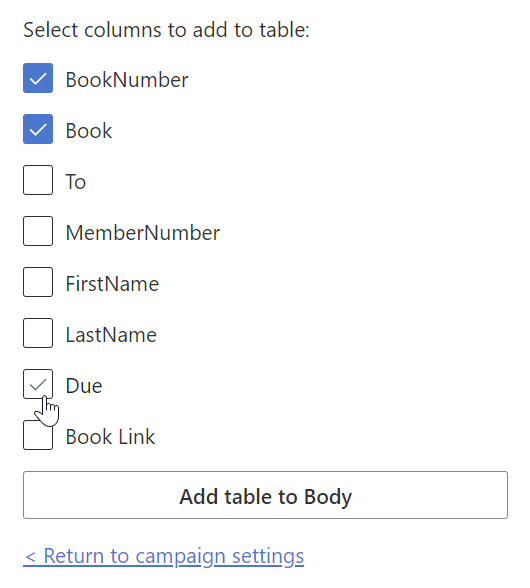
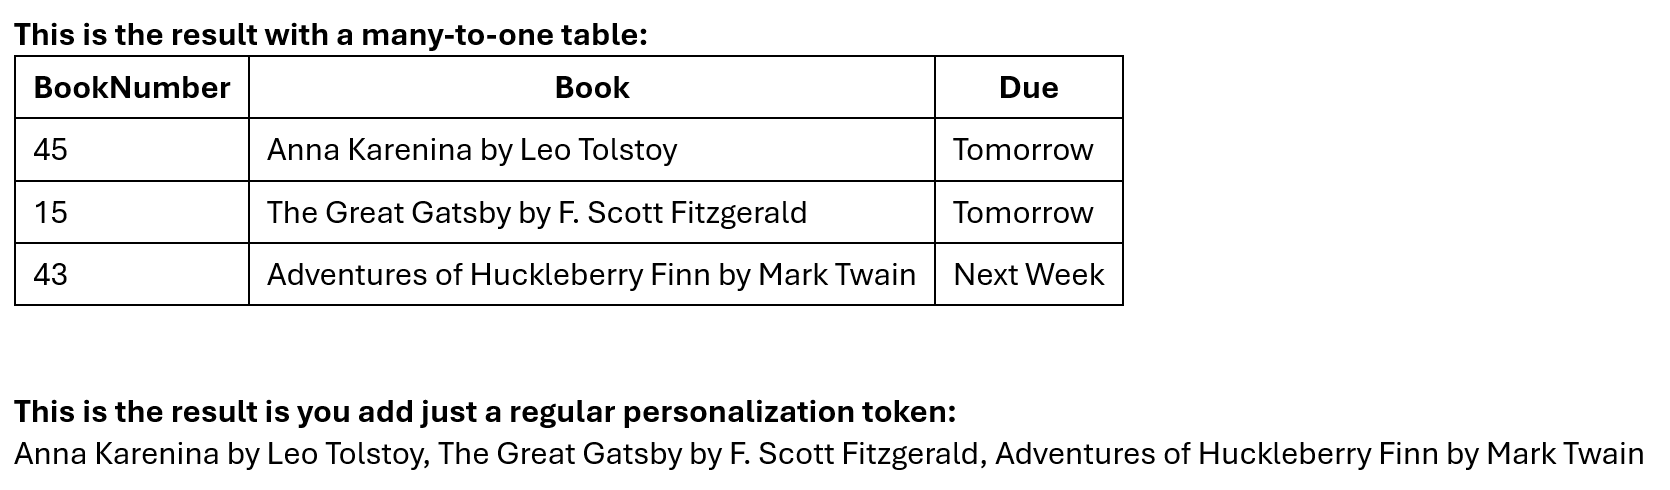
Switch to many-to-one mode and a button will appear further down that let’s you add a table to your mail merge.
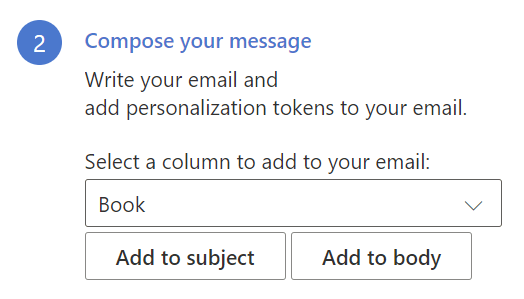
If you instead just insert a regular personalization token (in many-to-one mode) instead of a many-to-one table, then values from all rows will be inserted as one long text seperated by commas, except for the special columns “Attachments”, “CC”, and “BCC” which will be combined intelligently (see next section).
Special note: Combining attachments, CC, and BCC across multiple rows
When using many-to-one mode, SecureMailMerge intelligently combines certain columns across all rows belonging to the same recipient:
- Attachments: All unique attachments from every row are combined into a single email
- CC recipients: All unique CC email addresses are merged together
- BCC recipients: All unique BCC email addresses are merged together
This means you can organize your spreadsheet with multiple rows per recipient, each containing different attachments or CC/BCC recipients, and SecureMailMerge will automatically combine them.
Example: Multiple attachments per recipient
| To                | Attachments           | CC              |
|-------------------|-----------------------|-----------------|
| [email protected]  | contract.pdf          | [email protected]  |
| [email protected]  | invoice.pdf           | [email protected]|
| [email protected] | terms.pdf | |Result: John receives one email with all three attachments (contract.pdf, invoice.pdf, terms.pdf) and both CC recipients ([email protected], [email protected]).
Automatic deduplication: If the same attachment or email address appears in multiple rows, it will only be included once in the final email.
By default, many-to-one mode is only offered when duplicate recipient email addresses are detected in your spreadsheet. However, you can force enable many-to-one table mode from the Advanced Options, even when all recipients are unique.
This is useful when you want to use the {% table %} tag to render spreadsheet rows as a table in each email, regardless of whether there are duplicate recipients. In this case, each email will contain a table with a single row of data from the spreadsheet, but you can still take advantage of the powerful table rendering features to format your emails nicely.
Step 4. Send a test email and then send the campaign
You can then proceed by sending a test email, to check your personalization tokens are working as expected.
Note that the first row of the spreadsheet will be used for the test email, so you will only see the many-to-one features if that recipient has multiple rows assigned.
When you’re happy, you can send the campaign to all recipients.
→ Click here for more help on other use cases (e.g. multiple CC/BCC, personalized attachments etc).
Ready to try it yourself?
SecureMailMerge for Outlook
Runs inside Outlook — no external app needed. Free to install.
Free · No credit card required