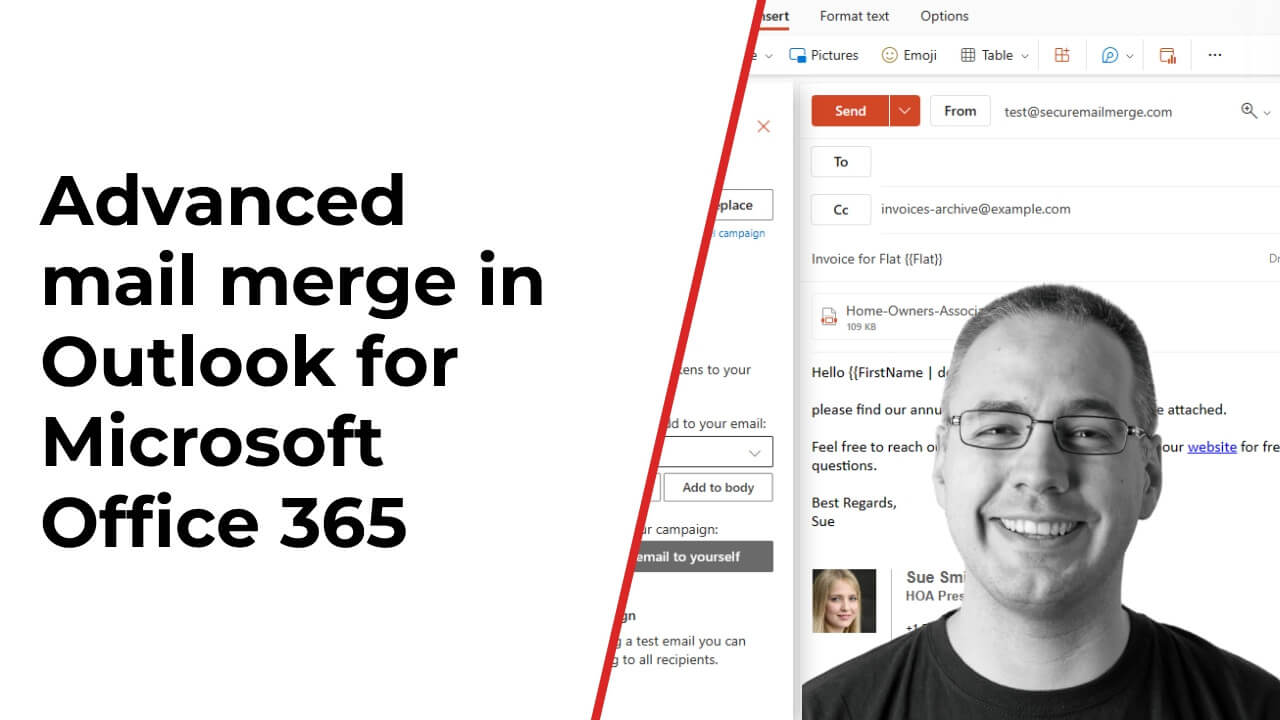
Getting Started
This guide will take you from downloading the SecureMailMerge for Outlook add-in to sending your first mail merge campaign.
Contents
Available as a video tutorial
Before You Start
Make sure you have everything you need:
- ✅ Microsoft 365 Business subscription — SecureMailMerge requires a paid Microsoft 365 account. Free Outlook.com and Hotmail accounts are not supported.
- ✅ A spreadsheet with recipient data — Excel, CSV, or similar file with at least a “To” column containing email addresses.
- ✅ The add-in installed — If you haven’t already, install SecureMailMerge from the Microsoft Store .
- ✅ IT admin approval (if required) — Some organizations require admin approval for add-ins. Learn more about admin approval .
Step 1: Prepare your spreadsheet
Most spreadsheets will work out-of-the-box as long as they have at least one column called “To”. All other columns are optional. Make sure the first line contains the column names.
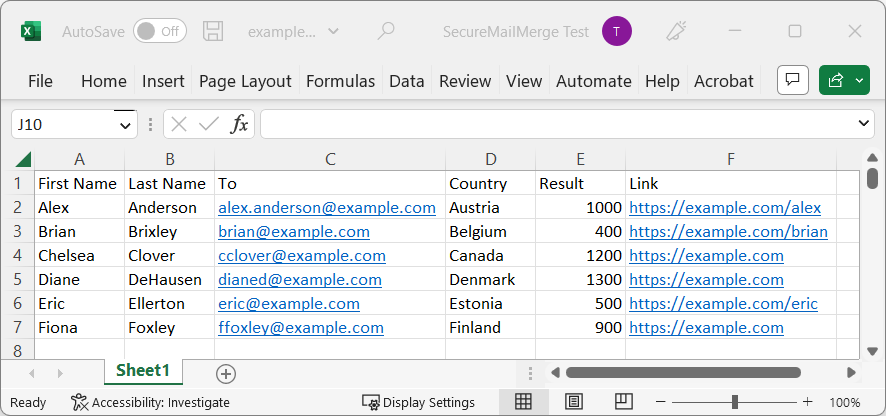
You can download an example spreadsheet to get you started.
Note: Beware that filters or hidden rows/columns are not supported by SecureMailMerge and will be ignored resulting in potentially larger campaigns than intended. Always check the number of rows displayed in the sidebar after uploading to verify the amount corresponds to what you expect.
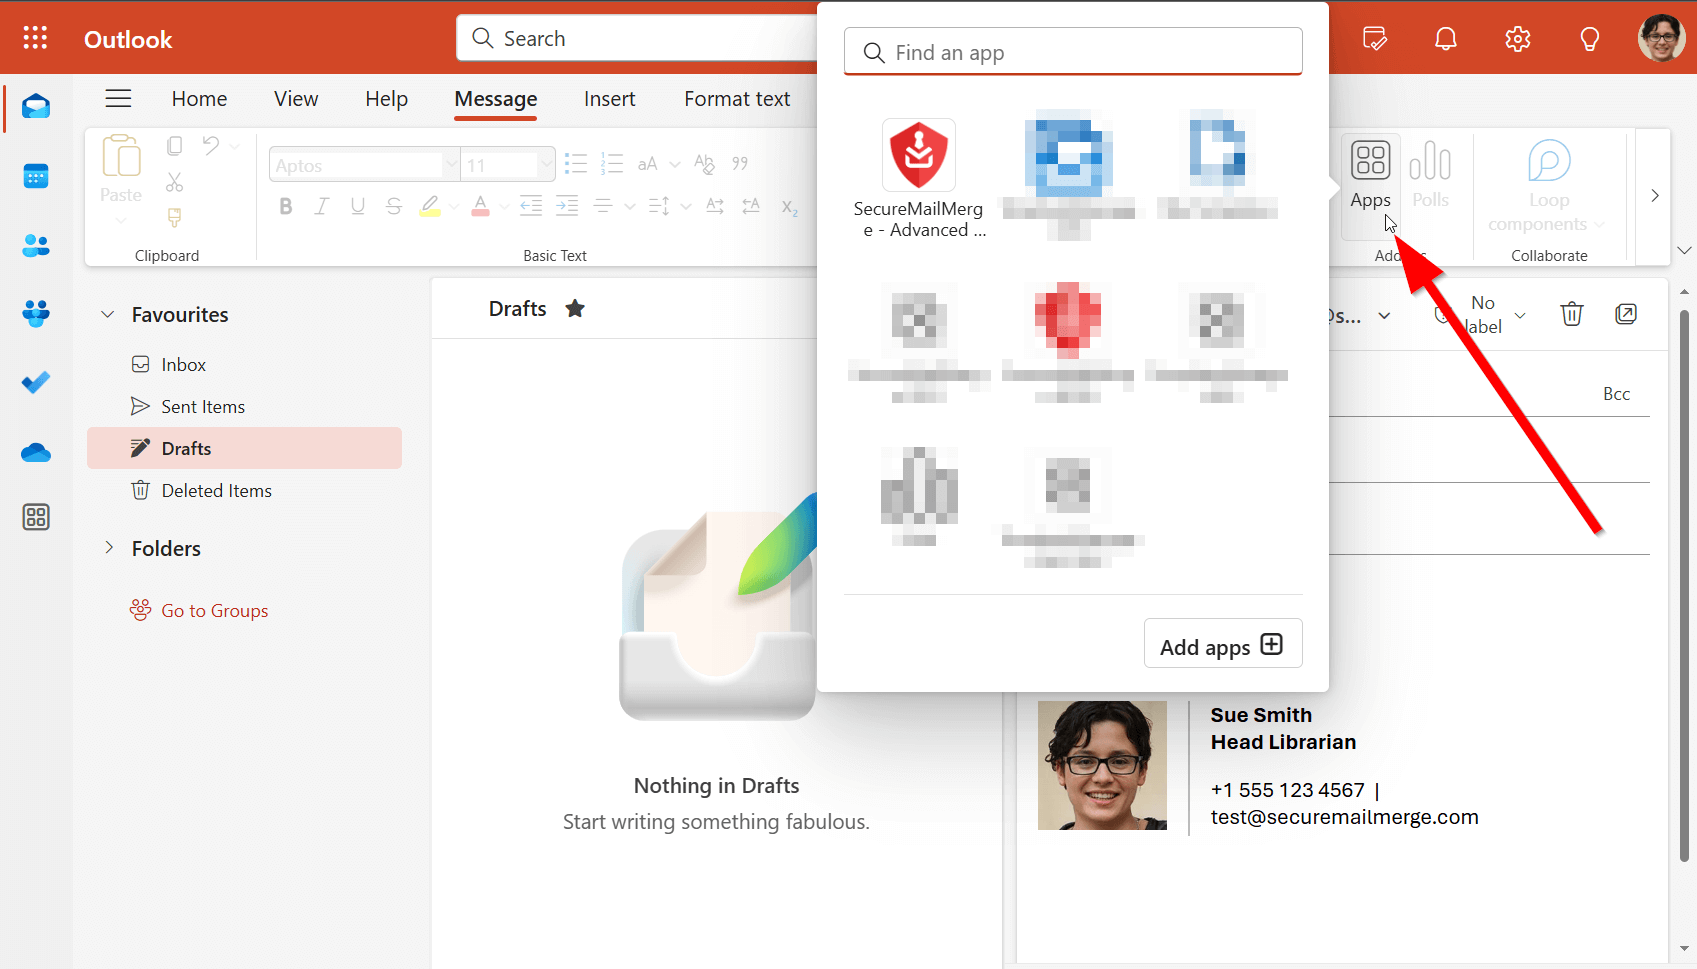
Step 2. Start the SecureMailMerge Add-In
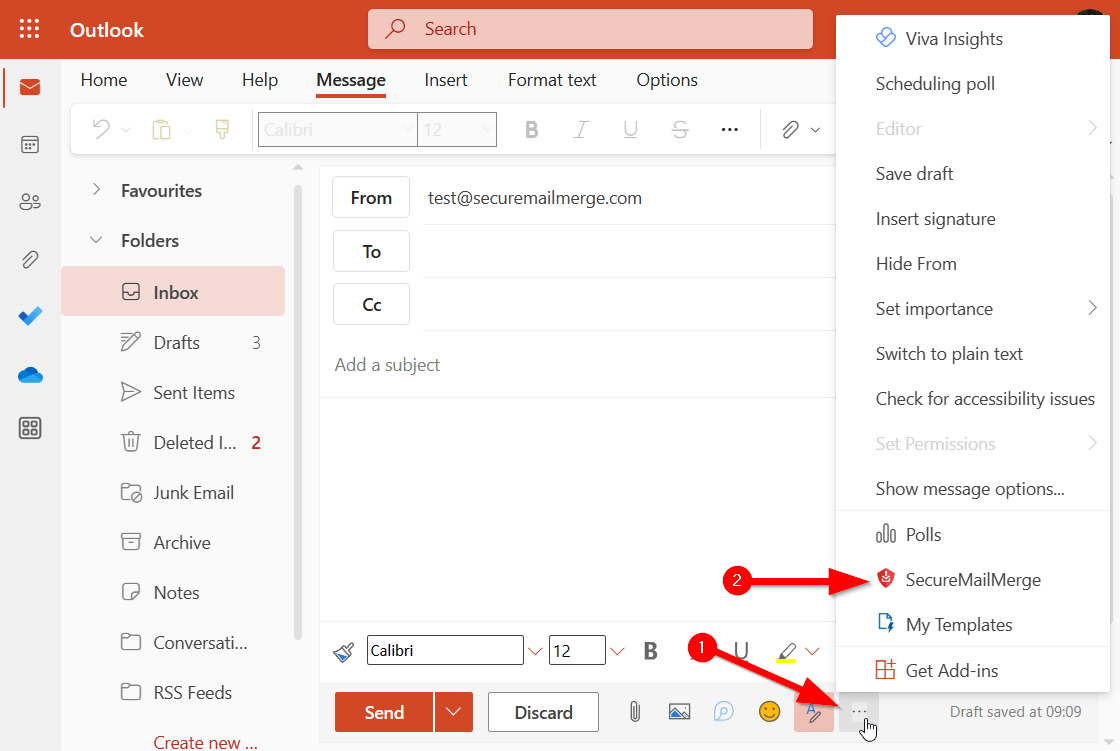
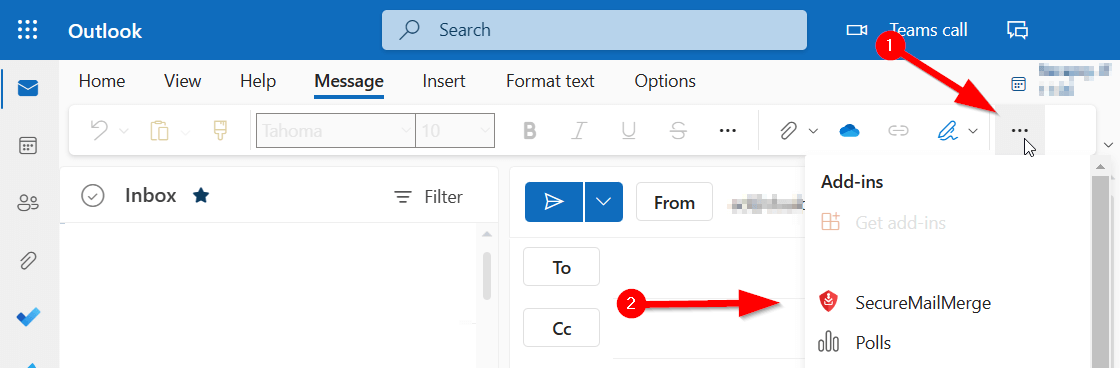
The add-in works on all platforms that Microsoft 365 supports, but where you will find it may be slightly different. Click the “New Email” button and if you have installed the plugin it will appear in the Apps menu (you can pin it to the standard ribbon from there) or in the add-in menu in older versions.
New Outlook
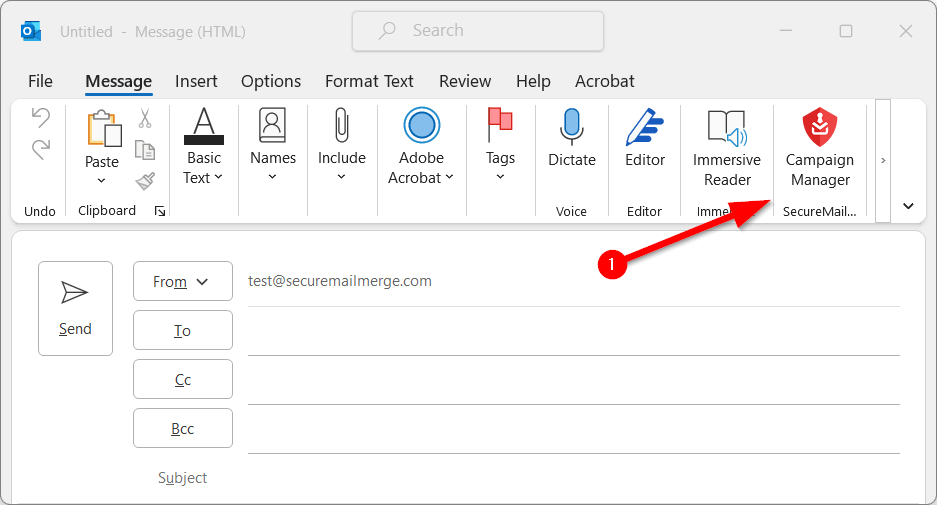
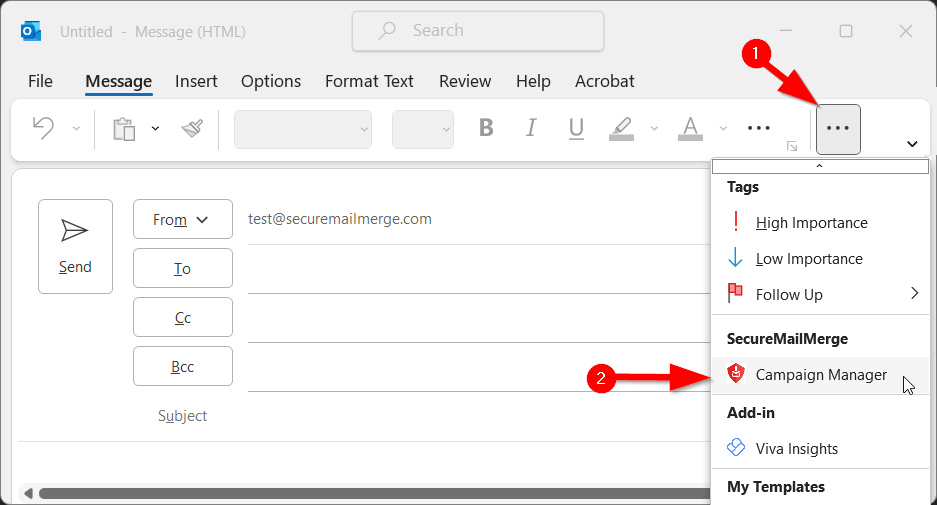
Other Versions
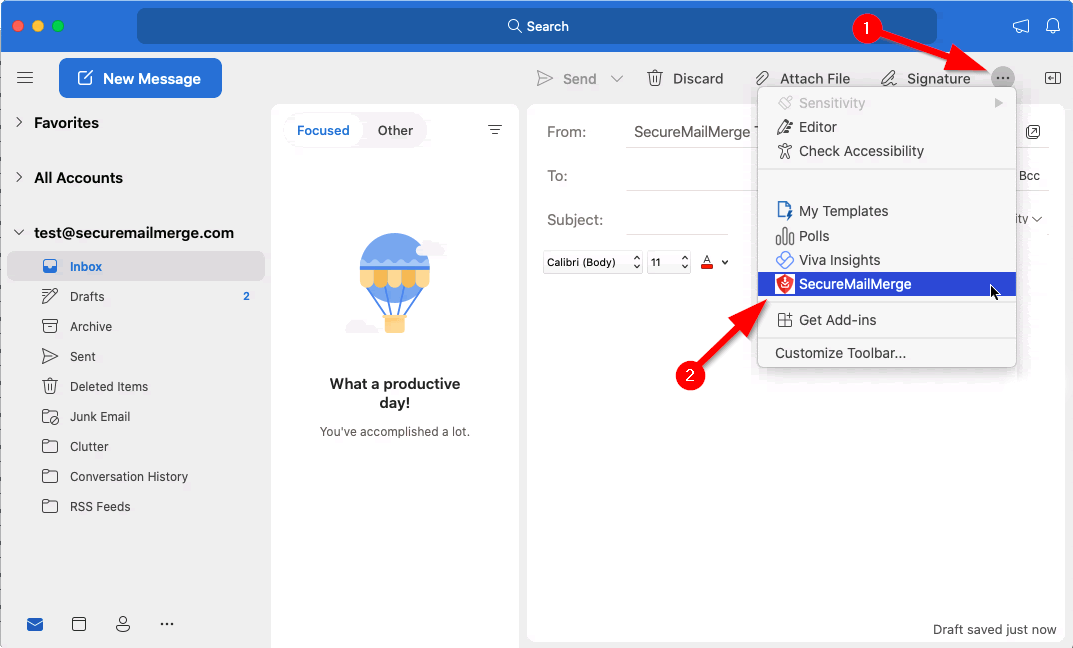
Outlook for Mac
Step 3. Upload the spreadsheet
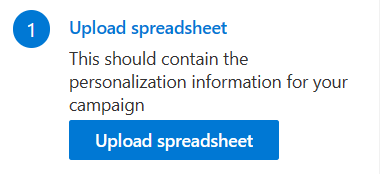
To start a new campaign click the “Upload Spreadsheet” button and select the spreadsheet you would like to use. We support most files from different application (e.g. Excel, CSV, Numbers).
The file must contain the column names on the first row and at least one column called “To” which contains the email address of the recipient. Also note that empty columns or rows will halt processing at that point and ignore any further rows or columns.
See here for further troubleshooting for spreadsheets .
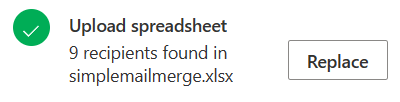
If the spreadsheet can be successfully read and parsed you will see the number of records displayed and the name of the file. You can click the “Replace” button in order to change files.
Step 4. Compose and send your campaign
Next, you can continue with creating your email template using information you loaded from your address book.
→ Click here for our guide on personalizing your email.
→ Click here for more help on other use cases (e.g. multiple CC/BCC, personalized attachments etc).