Know how directly from the Microsoft 365 mail merge experts
Mail Merge from Excel: Spreadsheet Setup Guide for Outlook (2026)
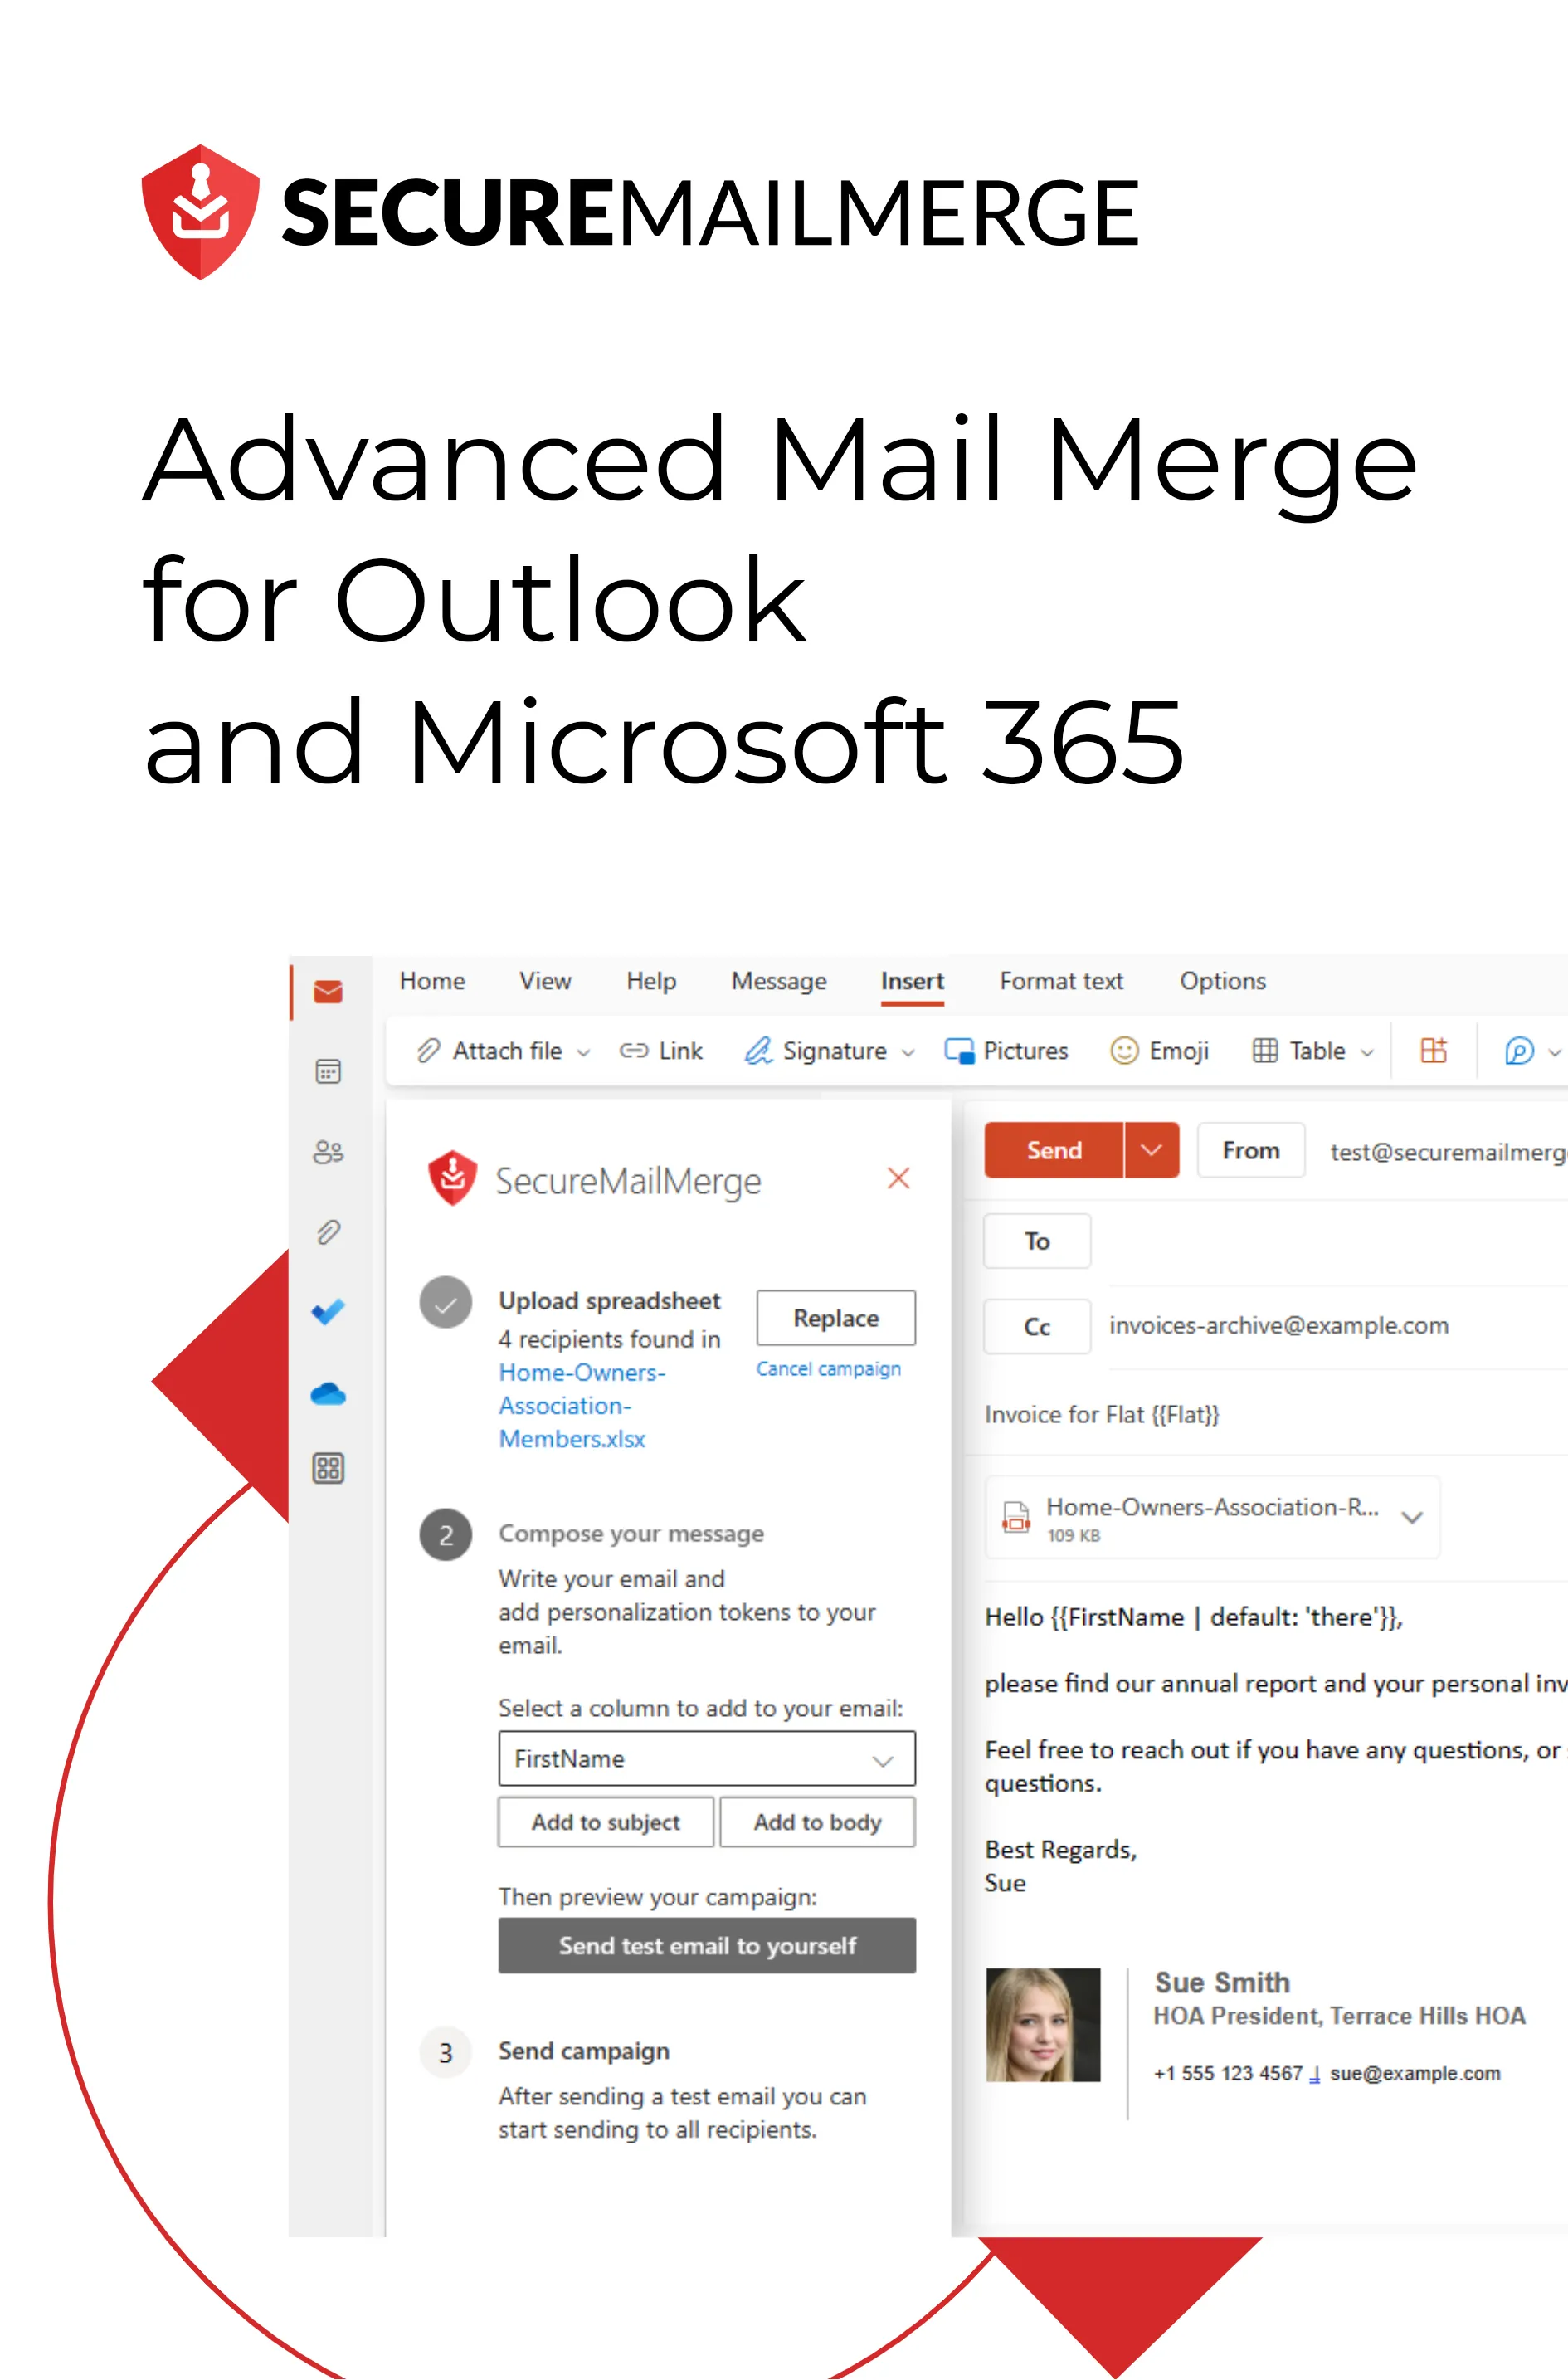
By Alex Duggleby · Founder, SecureMailMerge
Your Excel spreadsheet is the foundation of every mail merge. Get it right and the merge runs cleanly. Get it wrong and you’ll spend an hour debugging why «FirstName» is showing up blank or dates are displaying as serial numbers.
This guide covers everything about setting up your Excel file for a mail merge — from column naming rules to handling complex scenarios like individual attachments and multiple recipients per row.
The basic spreadsheet structure
Every mail merge spreadsheet follows the same pattern:
- One row per email — each row produces one sent email
- One column per data point — each column becomes a merge field
- Row 1 is the header row — column names only, no data
Minimum required columns:
| Column | Notes |
|---|---|
| To | Email address of the recipient. Must be a valid email. |
Everything else is optional but useful:
| Column | Purpose |
|---|---|
| FirstName | Personalise the greeting |
| LastName | Formal correspondence |
| Company | B2B personalisation |
| CC | CC email address (SecureMailMerge picks this up automatically) |
| BCC | BCC email address |
| Attachments | File names to attach (SecureMailMerge only) |
| Any custom column | Any data you want to reference in the email |
Column naming rules
Column names become merge field names. Follow these rules to avoid problems:
No spaces. FirstName works. First Name causes parsing issues in Word. Use camelCase or underscores if you need multi-word names: InvoiceNumber, invoice_number.
No special characters. Avoid #, $, %, (, ) in column headers. Stick to letters and numbers.
Consistent capitalisation. Merge fields are case-sensitive. If your column is FirstName, your template must reference {{FirstName}} (not {{firstname}} or {{FIRSTNAME}}).
English column names. Some mail merge tools handle non-ASCII column names poorly. Even for non-English campaigns, use English column names and put translated values in the cells.
Good column names vs. bad ones
✓ Good: To, FirstName, LastName, Company, InvoiceNo, Amount
✗ Avoid: Email Address, First Name, Invoice #, € Amount, données
Data formatting
Email addresses
- One email per cell
- No spaces before or after the address
- Lowercase is fine; capitalisation doesn’t affect delivery
- For CC and BCC with multiple addresses, separate them with semicolons:
[email protected];[email protected]
Numbers and currency
Excel stores numbers as raw values. If your Amount column contains 1200 and you want it to appear as $1,200.00 in the email, you have two options:
- Format the column as Currency in Excel before connecting to Word. Word will use the formatted display value.
- Pre-format the values as text — type
$1,200.00directly into the cell so it’s already a string.
Option 2 is more reliable across different tools.
Dates
Dates in Excel are stored internally as serial numbers. 2026-06-02 appears as a readable date in Excel, but when Word reads it, it may see the underlying number 46,068.
To prevent this: change the column format in Excel to Text and type dates as strings (2 June 2026 or 06/02/2026). What you type is what the merge will insert.
Names with apostrophes and special characters
Names like O'Brien or Müller generally work fine in modern tools. If you’re using older versions of Word, you may see encoding issues. Test with a single row containing these characters before running the full merge.
Setting up the Attachments column
If you want to send different attachments to different recipients, add an Attachments column.
For each row, enter the filename of the file to attach:
| To | FirstName | Attachments |
|---|---|---|
| [email protected] | Alice | invoice_alice.pdf |
| [email protected] | Bob | invoice_bob.pdf;report_q2.pdf |
Notes:
- The filename must exactly match the file you’ll upload (including extension)
- Separate multiple files with a semicolon
- The Classic Word mail merge method does not support this. You need the SecureMailMerge add-in to send individual attachments.
Full guide: mail merge with individual attachments
Handling multiple recipients
The standard mail merge sends one email per row. If you need to send one email to multiple people (e.g. primary recipient + account manager), use:
- CC column for addresses that receive a copy
- Multiple rows if each person needs a separate individual email
You cannot put multiple addresses in the To column and expect personalisation to work separately for each.
Multiple sheets in one workbook
Both Word and SecureMailMerge let you choose which worksheet to use when you connect the file. You can keep multiple campaigns in the same workbook as separate sheets — just select the right one at connection time.
Recommended: keep each campaign in its own file to avoid accidentally selecting the wrong sheet.
Filtering your list
You don’t have to send to every row in your spreadsheet.
In Word: After connecting the data source, click Edit Recipient List in the Mailings tab. Uncheck any rows you want to skip, or use the filter options to include only rows where a column matches a value.
In SecureMailMerge: Filter directly in Excel (using Excel’s built-in filter or by deleting rows) before uploading the file. The add-in processes every row it finds.
Validating your spreadsheet before you merge
Run through this checklist before starting the merge:
- Row 1 contains only column headers, no data
- Every row in the
Tocolumn has a valid email address - No empty rows in the middle of the data
- Column names have no spaces or special characters
- Numbers and dates are formatted as you want them to appear
- Attachment filenames match the actual files you have ready to upload
- No duplicate rows (unless intentional)
A quick way to find duplicates: in Excel, select the To column → Home → Conditional Formatting → Highlight Cell Rules → Duplicate Values.
Connecting Excel to your mail merge tool
Word (classic method)
- Open Word → Mailings → Start Mail Merge → E-mail Messages
- Select Recipients → Use an Existing List
- Browse to your .xlsx file and open it
- Choose the worksheet from the dialog
Word stores a link to the file. If you move or rename the Excel file, you’ll need to reconnect.
SecureMailMerge add-in
- Open a new email in Outlook
- Click the Campaign Manager icon
- Click “Use Spreadsheet” and upload the file
SecureMailMerge reads the file at upload time, so you can move the Excel file afterwards without issue.
FAQ
Does Excel have to be open during the mail merge? For the Word method, Excel does not need to be open — Word reads the file directly. For SecureMailMerge, you upload the file to the add-in, so Excel doesn’t need to be open either.
Can I use a CSV file instead of Excel? Yes. Both Word and SecureMailMerge accept CSV files. Excel (.xlsx) is preferred because it preserves data types (dates, numbers) better than CSV.
Can I connect a Google Sheets spreadsheet directly? Not directly. Export your Google Sheet as an .xlsx or .csv file first, then use that.
What if I have 10,000 rows? Word can slow down significantly above 500–1,000 rows. For large lists, SecureMailMerge handles them more reliably. Either way, check your Outlook sending limits: Microsoft 365 Business plans allow up to 10,000 emails per day.
Can I use Excel tables (formatted as Table) as the data source? Yes. Word reads Excel tables correctly. Make sure the table header row contains your column names.
Ready to try mail merge from Excel in Outlook? Install SecureMailMerge free from Microsoft AppSource — no Word required.
Related guides:
Enjoyed this article?
We have a whole library of useful articles for you to read
Show me the library of Outlook articles