Know how directly from the Microsoft 365 mail merge experts
Mail Merge in Word: Complete Guide for Outlook Users (2026)
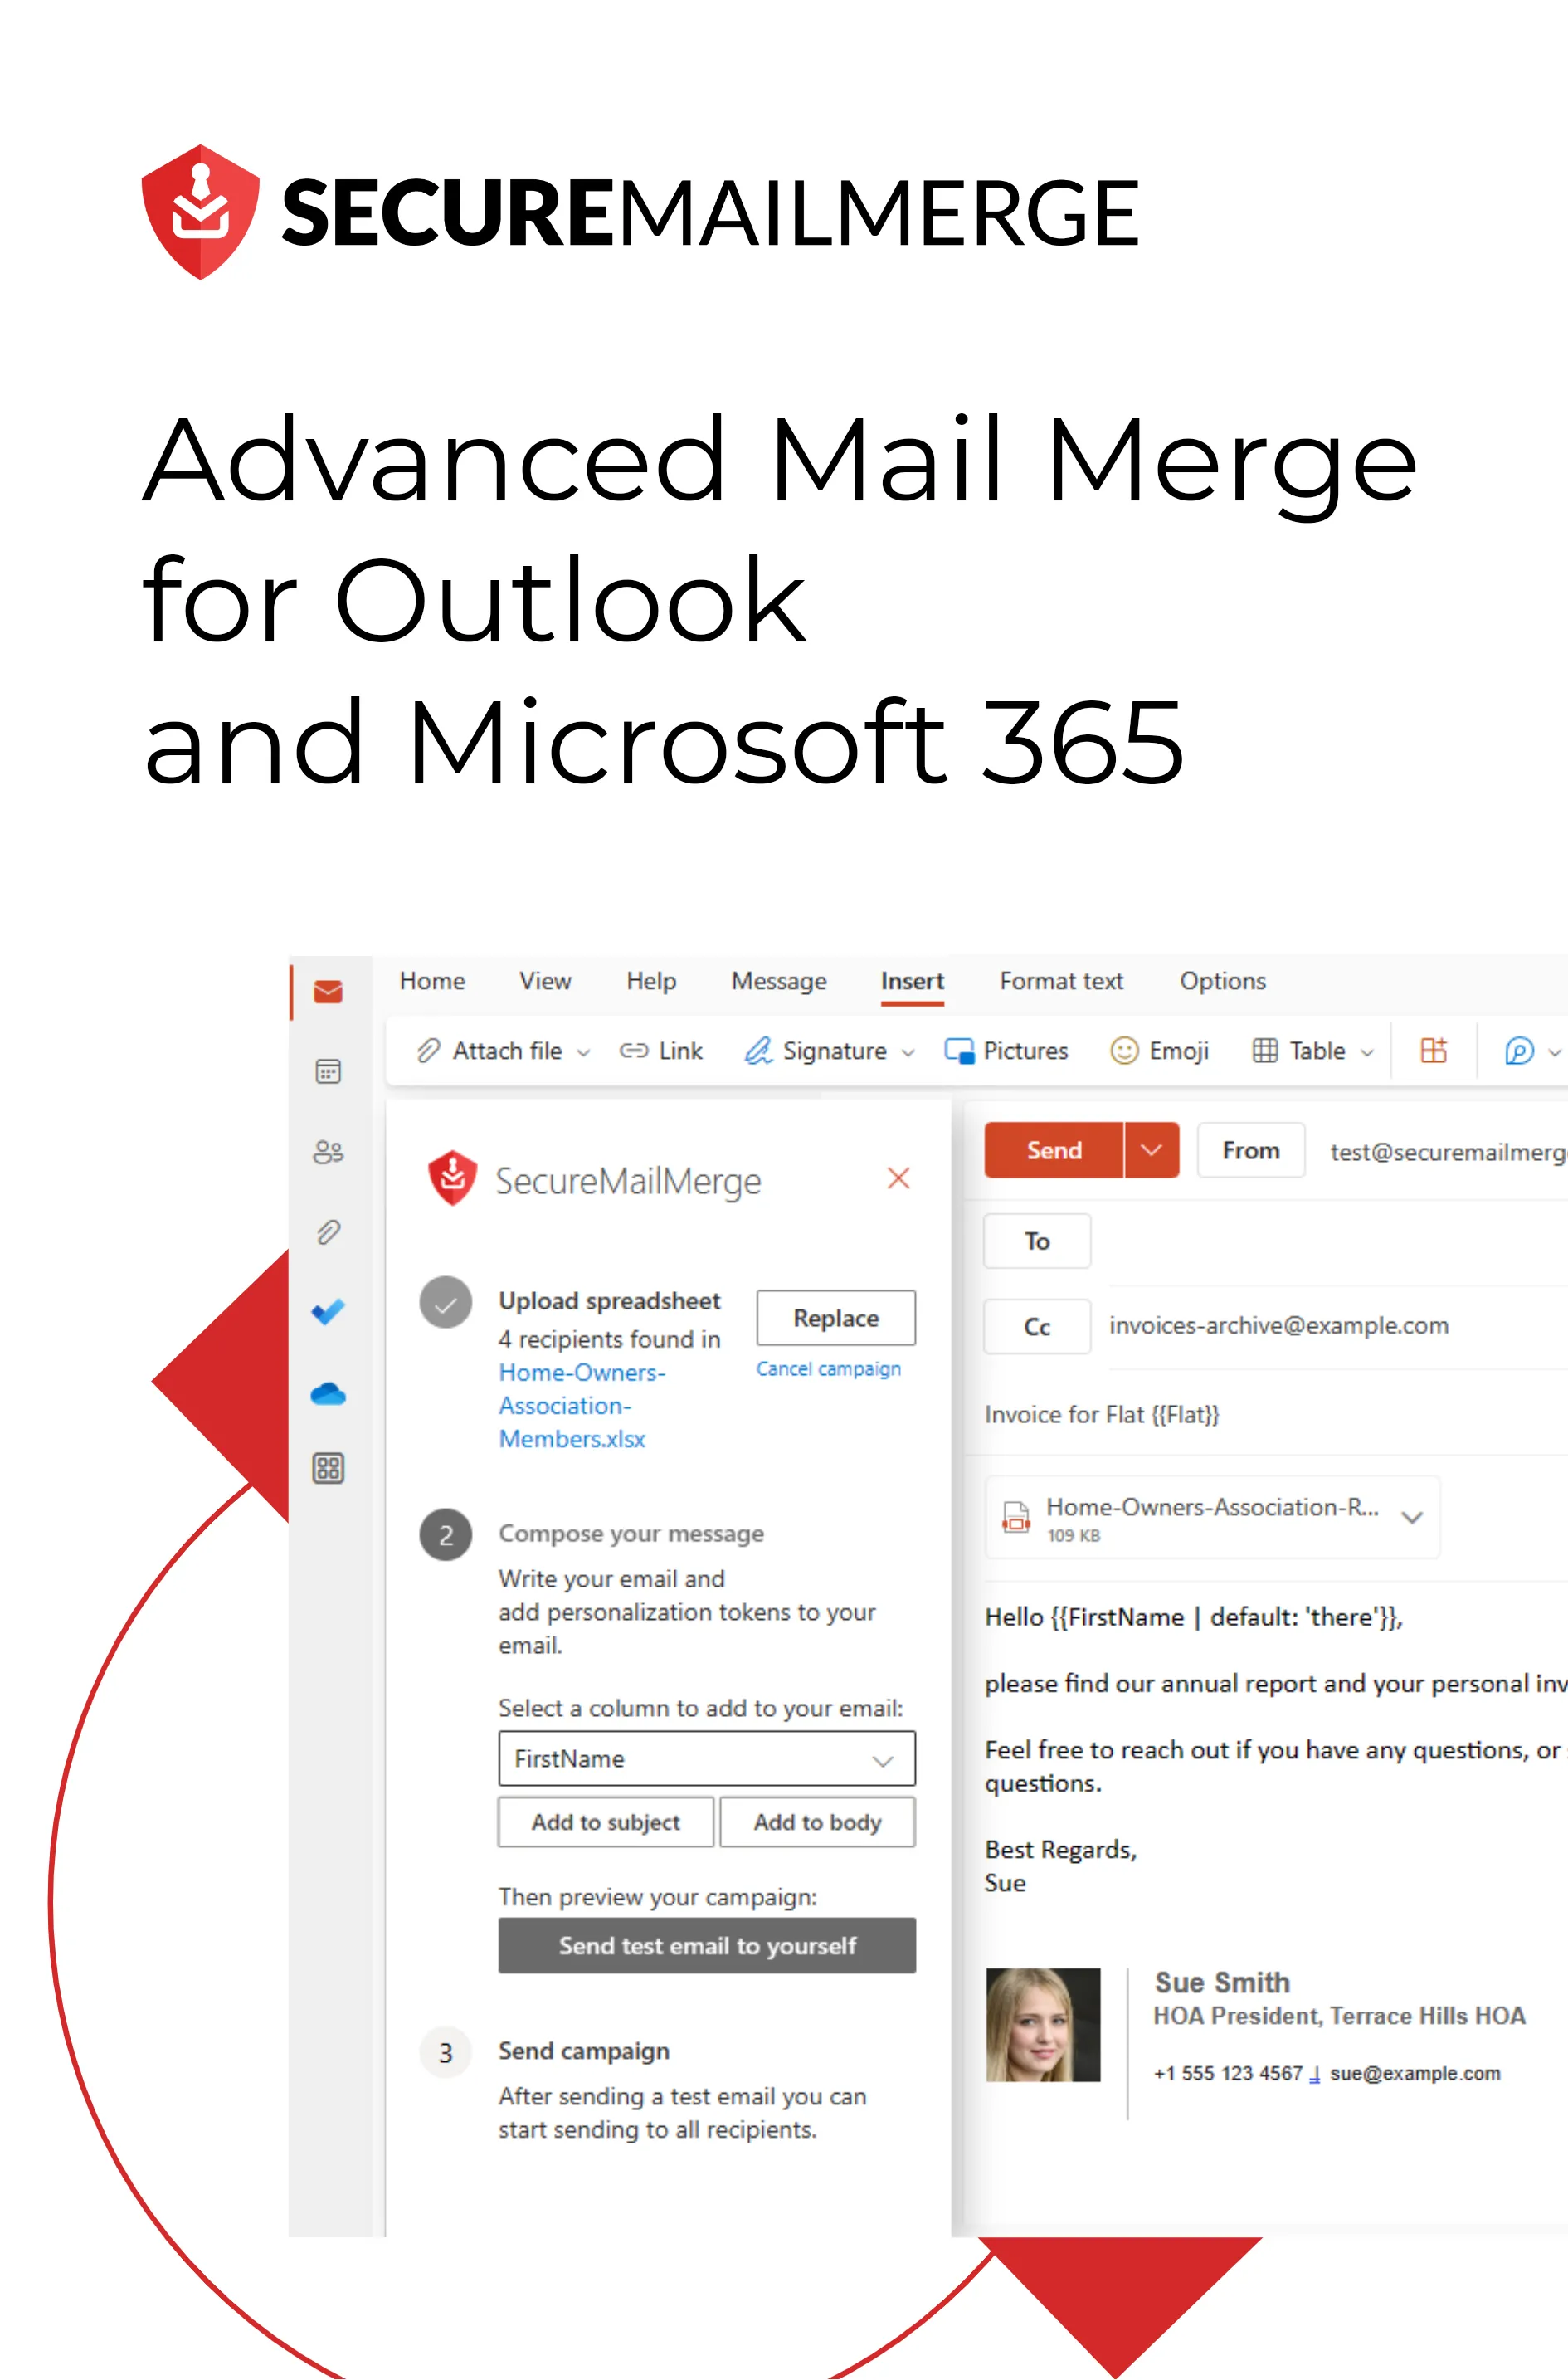
By Alex Duggleby · Founder, SecureMailMerge
Word’s Mailings tab is the built-in Microsoft 365 way to produce personalised emails, letters, labels, and envelopes at scale. If you’ve ever needed to send the same message to a hundred different people with each one addressed individually, this is the tool Microsoft designed for the job.
This guide covers every part of the Word mail merge workflow for Outlook users — from starting the wizard to hitting send — plus the known limitations and a modern alternative.
What Word’s mail merge can do
Word mail merge supports four document types:
| Document type | Use case |
|---|---|
| Letters | Printed personalised letters |
| E-mail Messages | Personalised emails sent via Outlook |
| Envelopes | Printed envelopes with individual addresses |
| Labels | Mailing labels, name badges |
For most Outlook users, E-mail Messages is the relevant type. This guide focuses on that.
Prerequisites
- Microsoft Word (any Microsoft 365 version)
- Classic Outlook set as default email client on Windows
- An Excel spreadsheet with your recipient data
New Outlook compatibility
The “Send Email Messages” step in Word requires Classic Outlook as the system default. New Outlook and Outlook on the Web are not supported. See mail merge in New Outlook for alternatives.
The Mailings tab: a quick orientation
When you open a blank Word document and click the Mailings tab, you’ll see five groups:
- Create — for envelopes and labels only
- Start Mail Merge — choose the document type and start wizard
- Write & Insert Fields — connect data and insert merge fields
- Preview Results — check before sending
- Finish — complete the merge and send
You work left to right through these groups.
Step 1 — Start Mail Merge
Click Start Mail Merge → E-mail Messages.
Alternatively, click Start Mail Merge → Step-by-Step Mail Merge Wizard to use a guided panel on the right side of the screen. The wizard is helpful if this is your first time — it walks through each step sequentially.
Step 2 — Connect your data source
Click Select Recipients in the Write & Insert Fields group.
You have three options:
- Type a New List — build a simple contact list inside Word
- Use an Existing List — connect to an Excel spreadsheet (recommended)
- Choose from Outlook Contacts — pull contacts from your Outlook address book
For most scenarios, Use an Existing List with an Excel file is the best choice. It keeps your data portable and easy to edit.
After selecting the file, Word asks which worksheet to use. Select the sheet containing your recipient data and click OK.
Filtering and sorting recipients
Before writing the email, click Edit Recipient List to review and optionally filter your list. You can:
- Uncheck individual rows to exclude them
- Sort by any column
- Filter to only rows where a column matches a value (e.g. only send to contacts in “Germany”)
Step 3 — Write the email template
Write your email in the Word document. Format it with bold, italic, bullet points, or any Word formatting — it will be converted to HTML when sent via Outlook.
Inserting merge fields
Place your cursor where you want personalised data to appear, then click Insert Merge Field and choose the column name from the dropdown.
Word inserts a grey field code: «FirstName», «Company», etc.
You can insert the same field multiple times. Example:
Subject: Invoice for «Company»
Dear «FirstName»,
Please find your invoice «InvoiceNumber» attached. The total due is «Amount».
Best regards
Subject line limitation
The subject line is set at the final “Send Email Messages” step as a static value. You cannot insert merge fields into the subject via the normal Word workflow. If you need personalised subject lines, use the SecureMailMerge add-in instead.
Rules (conditional content)
Word’s Mailings tab includes a Rules feature that lets you conditionally include or exclude content based on field values:
- If…Then…Else — shows different text depending on a field value
- Skip Record If — skips a recipient if a condition is true
- Merge Sequence — inserts a sequential number for each record
To access Rules: Mailings → Write & Insert Fields → Rules.
Step 4 — Preview results
Click Preview Results (or press Alt+Shift+N). The field codes are replaced with real data.
Use the arrows in the Preview Results group to scroll through recipients. Watch for:
- Blank fields where data should appear
- Incorrect capitalisation
- Extra spaces around field values
- Date or number formatting issues (fix these in Excel, not Word)
Click Check for Errors to run an automated scan before sending.
Step 5 — Finish & Merge
Click Finish & Merge → Send Email Messages.
A dialog appears:
- To: select the column containing email addresses
- Subject line: type the subject (same for all recipients)
- Mail format: HTML is recommended; Plain Text removes all formatting
Click OK. Word sends each personalised message to Classic Outlook, which delivers them individually from your mailbox.
Watch your Outbox
If Outlook is in Offline Mode, emails queue in the Outbox and don’t send. Check: Send/Receive tab → Work Offline (should be off).
Mail merge to a new document vs. sending directly
Instead of sending immediately, you can click Finish & Merge → Edit Individual Documents to generate a new Word file containing all the personalised emails as separate pages. This lets you review every single version before sending.
Useful for small batches where accuracy is critical (legal notices, financial communications).
Limitations of Word mail merge for email
| Limitation | Impact |
|---|---|
| No individual attachments per recipient | Everyone gets the same attachment |
| No subject line personalisation | Subject is static for all recipients |
| Broken in New Outlook | Can’t use if New Outlook is default |
| Formatting can degrade | Complex Word formatting doesn’t always survive the HTML conversion |
| No scheduling | Sends immediately |
Alternative: mail merge from inside Outlook
The SecureMailMerge add-in handles all of the above from directly inside Outlook’s compose window — no Word involved:
- Individual attachments per recipient (add an Attachments column to your spreadsheet)
- Personalised subject lines
- Works in New Outlook, Classic Outlook, Mac, and Web
- Your data never leaves Outlook
Install it from the Microsoft AppSource in under two minutes.
FAQ
Can I use Word mail merge with Gmail or another email client? No. Word’s “Send Email Messages” only works with Classic Outlook on Windows as the default email client.
Can I mail merge from Word without Excel? Yes — you can type recipients directly into Word using “Type a New List,” or import a CSV file, or connect to your Outlook Contacts. Excel is the most flexible option for large lists.
Does Word mail merge work on Mac? Word on Mac has the Mailings tab, but sending via Outlook for Mac has historically been unreliable. For Mac users, the SecureMailMerge add-in is the recommended approach.
Can I save a mail merge document and use it again? Yes. Save the Word document normally. When you reopen it, Word will ask whether to maintain the connection to the data source. You can reconnect to the same or a different Excel file before sending again.
Related guides:
Enjoyed this article?
We have a whole library of useful articles for you to read
Show me the library of Outlook articles